
Shut the front door! I forgot to share this DIY project! After all that hard work the least I can do is share the fruits of my labor, right?
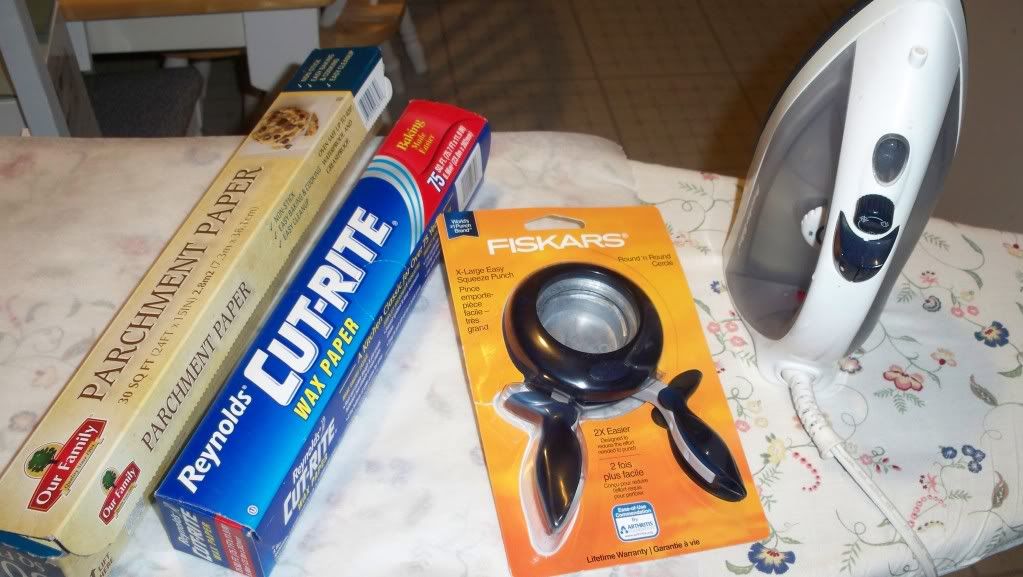
These are the supplies you will need.
Parchment paper, wax paper, iron, ironing board, squeeze punch, many glue sticks, glue gun, wire, sewing machine and a lamp shade [some items not pictured].
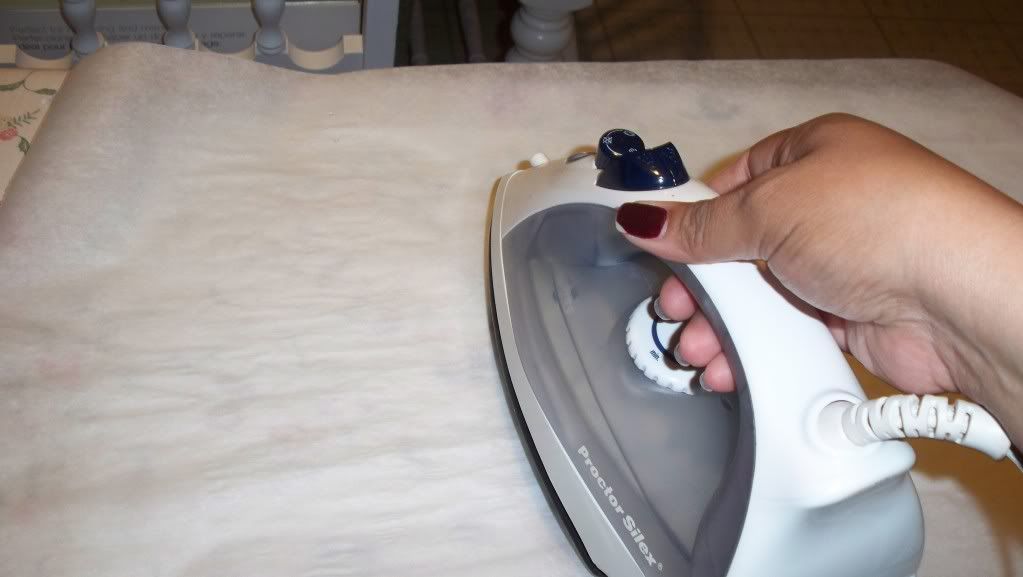
To start off cut two sheets of parchment paper and three sheets of wax paper. The length doesn't matter but try to cut them all the same length. Now layer the sheets as follows: one parchment paper sheet, three wax paper sheets and top with the second parchment paper sheet on top.
Now you want to iron those sheets just as they were laid out. Repeat this process for the entire roll of wax paper. Yes, I said the entire roll of wax paper. I think I used a total of three wax paper rolls for this project because I wanted my pendant to be nice and full.
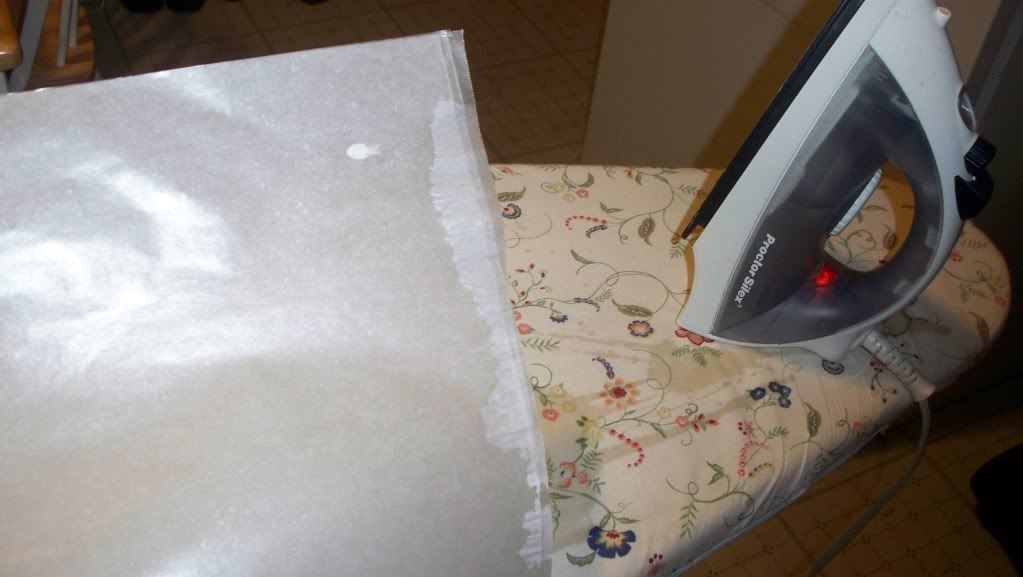
By the way if this should happen don't worry just cut the end right off and continue working.
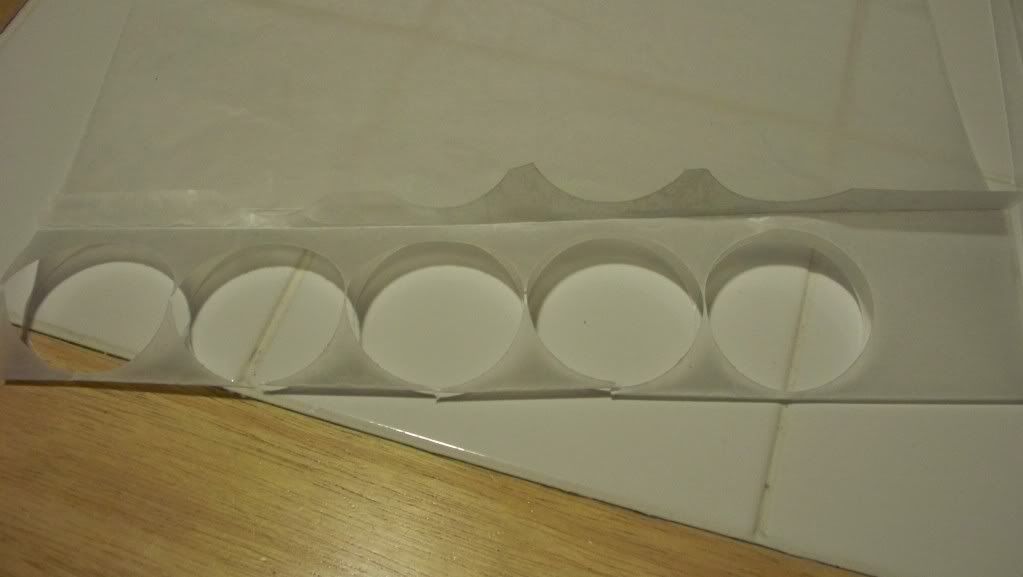
Now the real work begins. Start off by "sizing" the width of the squeeze punch circle then fold the entire sheet back and forth. You'll end up with one of those paper hand held fans -trust me its better than punching one circle at a time.
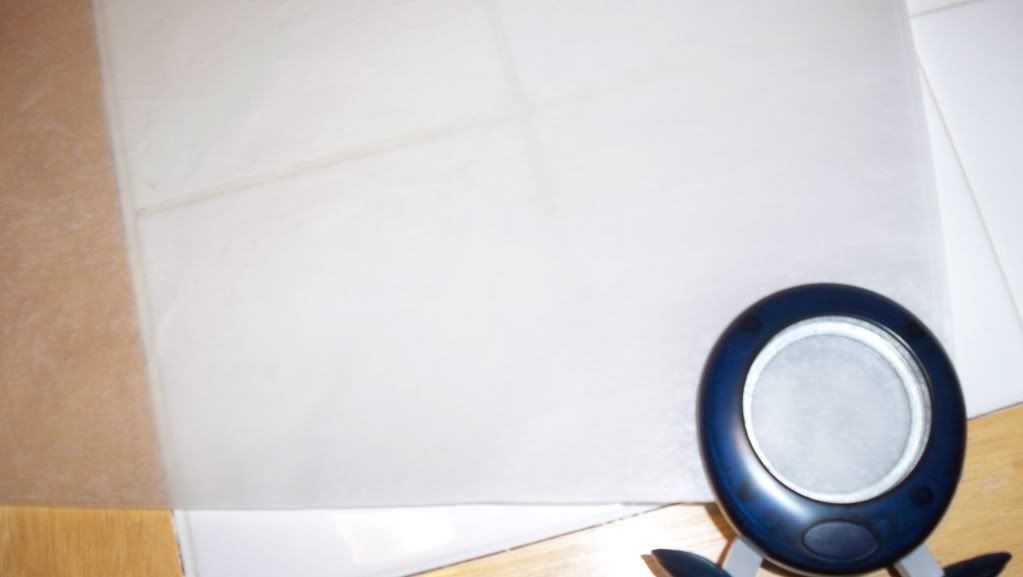
Just take a look how cutting one circle at a time looks. Yeah, not the most time effective steps to take.
Ok, lets get back to work.
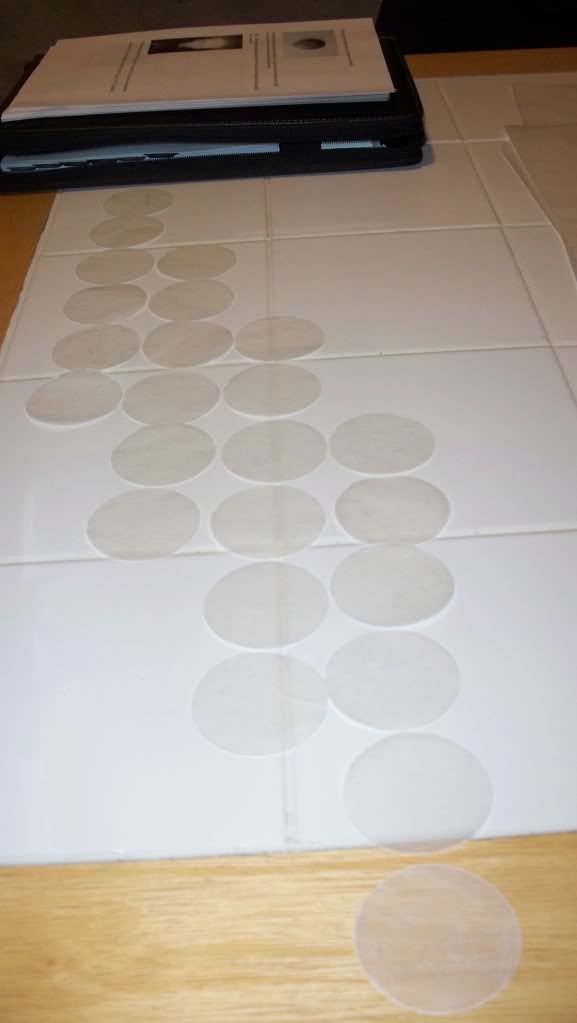
After you have 14,000 circles hot glue them all together. Just kidding! But seriously after you gather about 30 circles lay a few of them out to get an idea of the length of each strip so you have a visual [as pictured]. I decided to have three rows and not four as pictured. After you determine the number of circles in each strip get your sewing machine out and sew those circles together.
Here I'd insert a picture of a few sewed strips of circles, how I added one row of wiring around the lamp shade skeleton and how to start assembling the pendant. But I forgot to snap pictures. Shame on me.
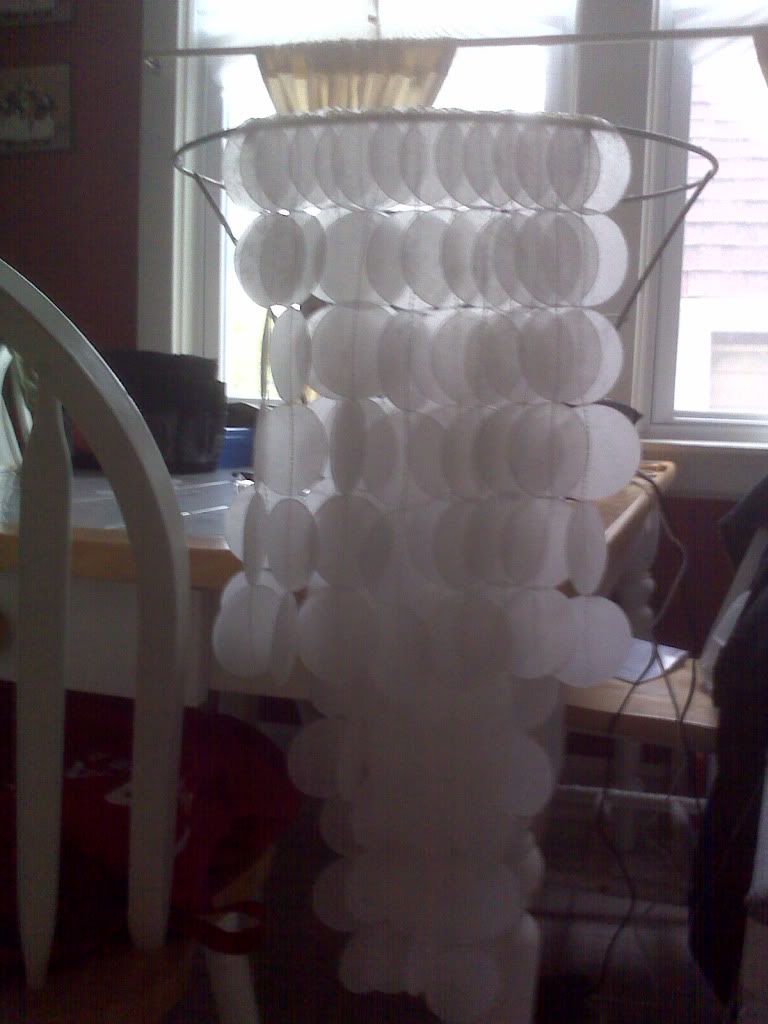
However, here is a yucky quality picture of the first few strips I sewed together and hot glued just to test out the length.
Here is another picture of it while in progress. As you can see I glued the strips slightly over one another. I did this because I wanted a nice full looking pendant. Did you notice the lamp shade is upside down? Whoever thought of this idea is brilliant!
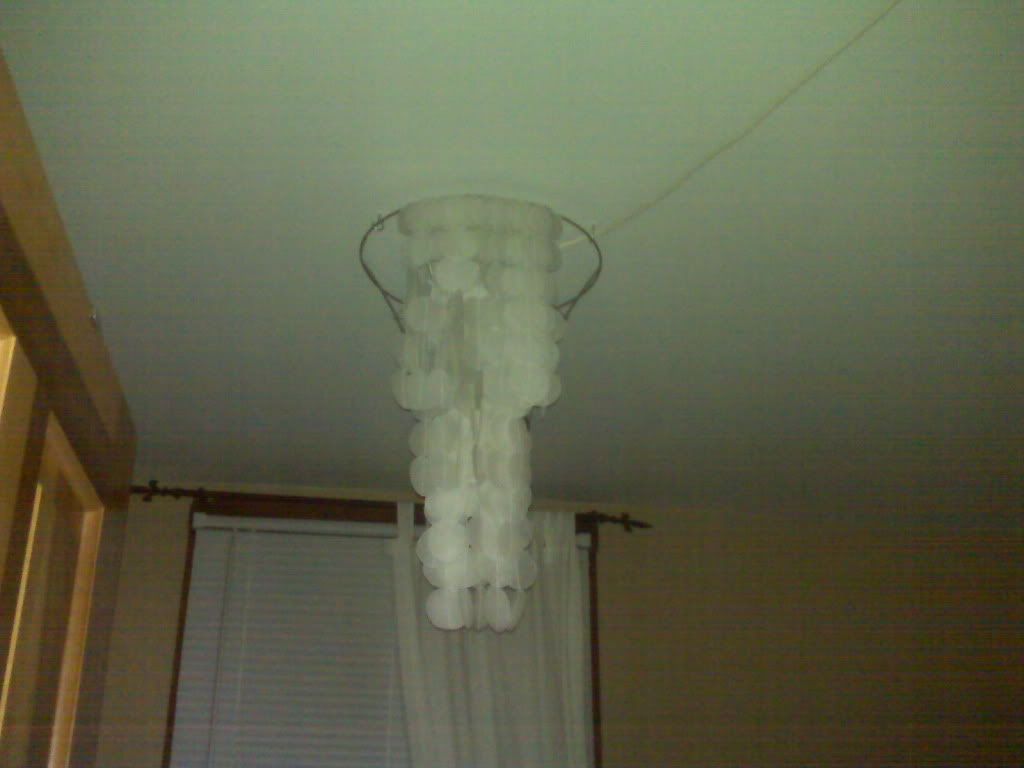
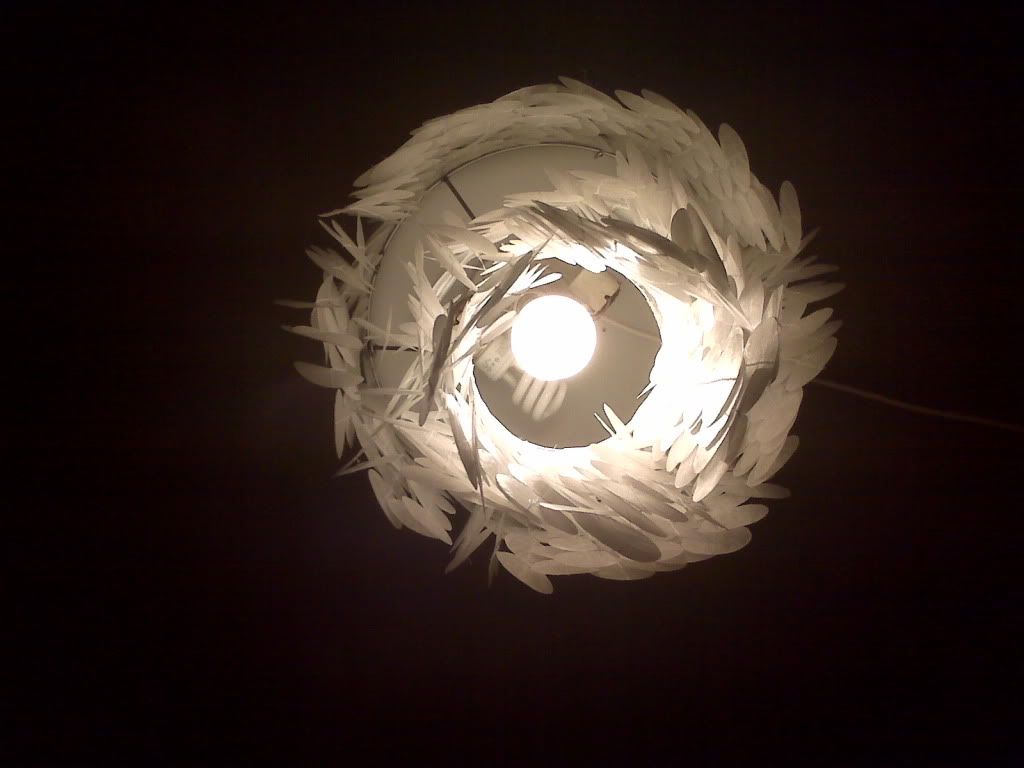
And here my friends is the final product from different view points. 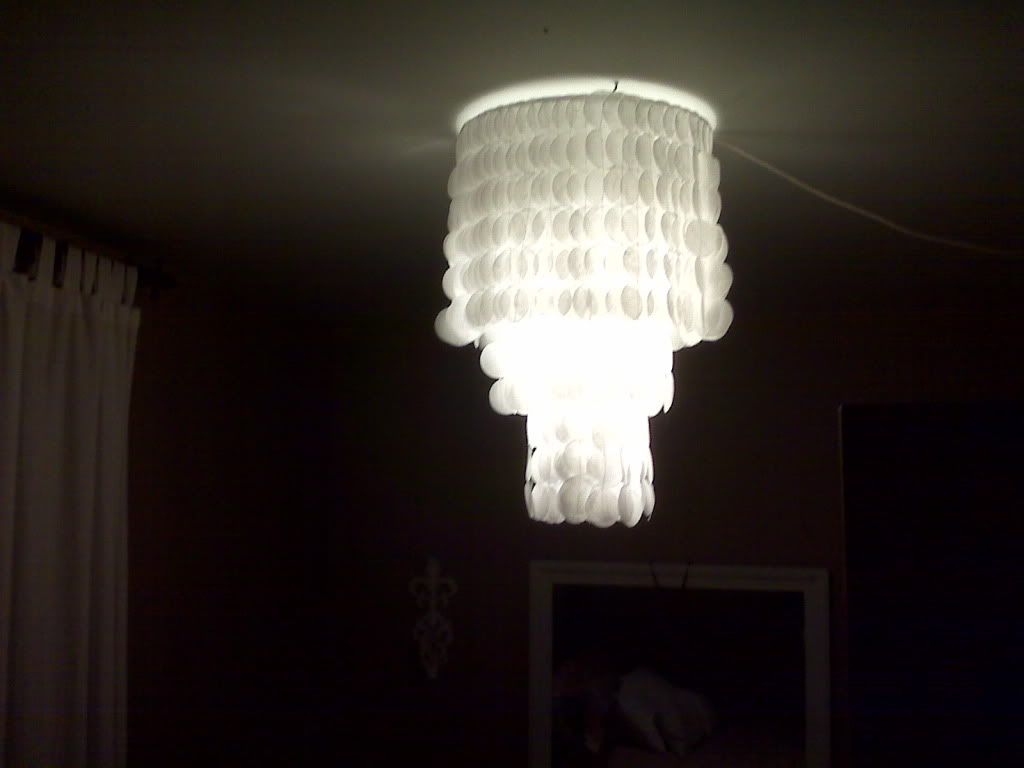

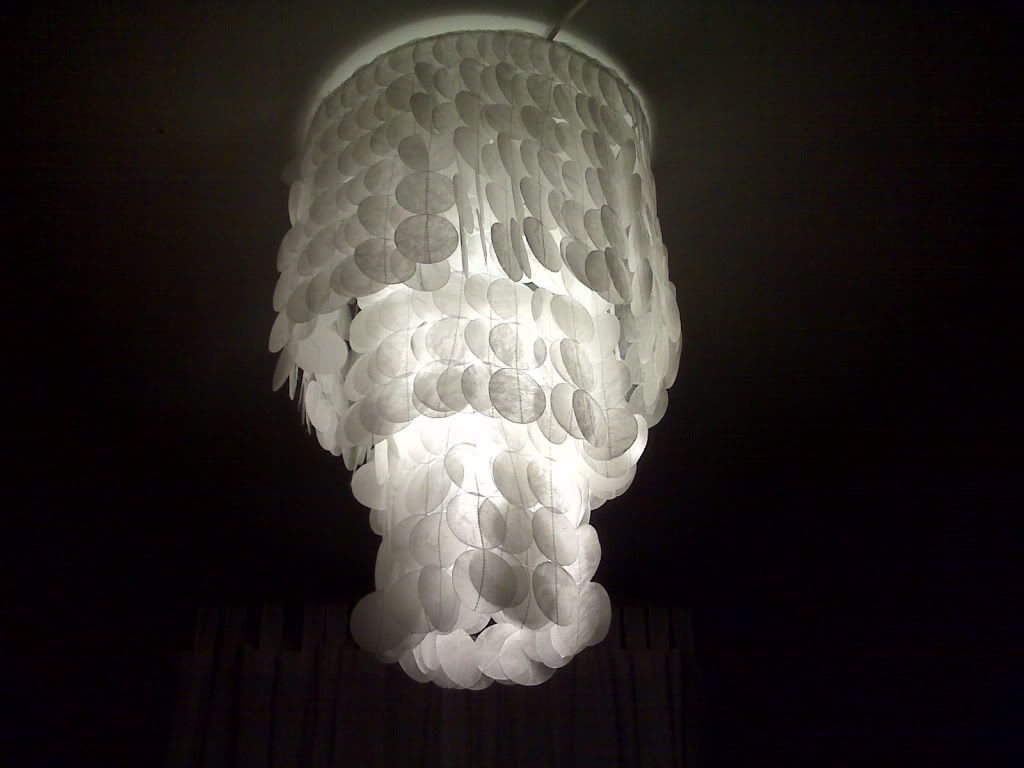
This faux capriz pendant is hanging very nicely in my bedroom and has received many "oohh", "aahhh" and "WOW" since its display. I'll also have you know I've been requested to make four of these!
After getting a glimpse of how one of these is made how much would you sell one of these for? What are your thoughts about this project? Do you like it?
Leave me a comment and please subscribe --you'll totally make my day and inspire me to share more projects.
Until the next post,

Oh my god! I have to try this! Pinning this right now!
ReplyDeleteI'm glad I've inspired you! YAY! Thanks for pinning =D
Delete