Wednesday, June 13, 2012

Review: Maybelline Waterproof Volum'Express Mascara

Hello! How are you doing? So, this post contains a product review but I have a mini-novel to share before getting to the post. Feel free to scroll down to the picture area to skip my novel =)

This past Sunday I spent the day with my little sister Pattie and my niece Suzzi "The Bride To Be". Suzzi weds this August and I've been given the honor of doing her hair and makeup. I'm so excited, nervous, anxious and sad all at once. How can that be? Let me just say she is the eldest of the nieces in our small family and the first of the nieces to get married. Really, I believe the realization that she is no longer that chubby little baby, that little kid that wanted to hang out with me the bossy auntie or as she calls me "the super cool auntie". She's a working professional for crying out loud!  [whoa chocking up here].

Ok, let me get back on track Pattie, Suzzi and I went to a little boutique in Chicago that has the most amazing accessories to pick up a hair brooch. We went to this very boutique last year when Pattie got married to pick up some accessories so it was only fitting to return.

In that boutique there was a lovely assistant, whos name slips my mind, she had the most amazing lashes! I thought they were lash extensions thats how beautifully long, full and dark they looked. Pattie, Suzzi and I have been faithful to a mascara we get when visiting Mexico and that's because we haven't found a comparable mascara in the States. I told this lovely assistant "Your lashes are so beautiful. What mascara do you use or are they extensions?" She gracefully replied "Thank you thats so nice of you. These are my lashes and I use Mabelline Express mascara in a blue tube." That was enough for me to try it. So, fast forward to Sunday night I make a quick trip to the store and picked up a mascara to test it out for myself.

Three days of use SOLD me on this mascara. Check out the pictures for yourself.

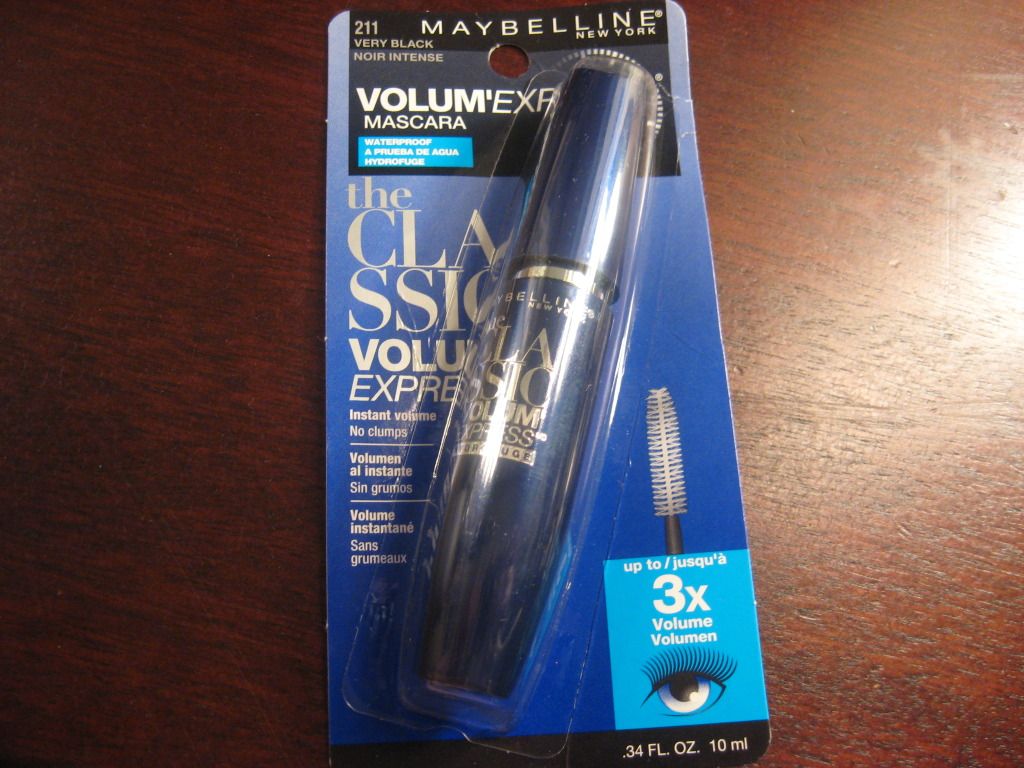
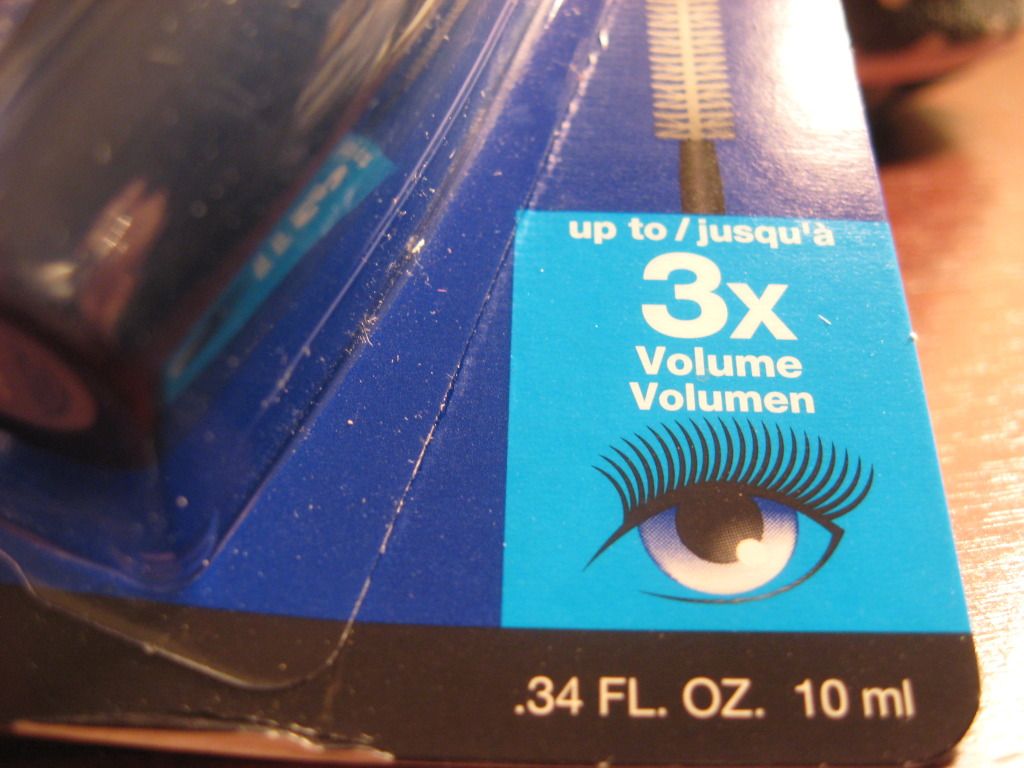
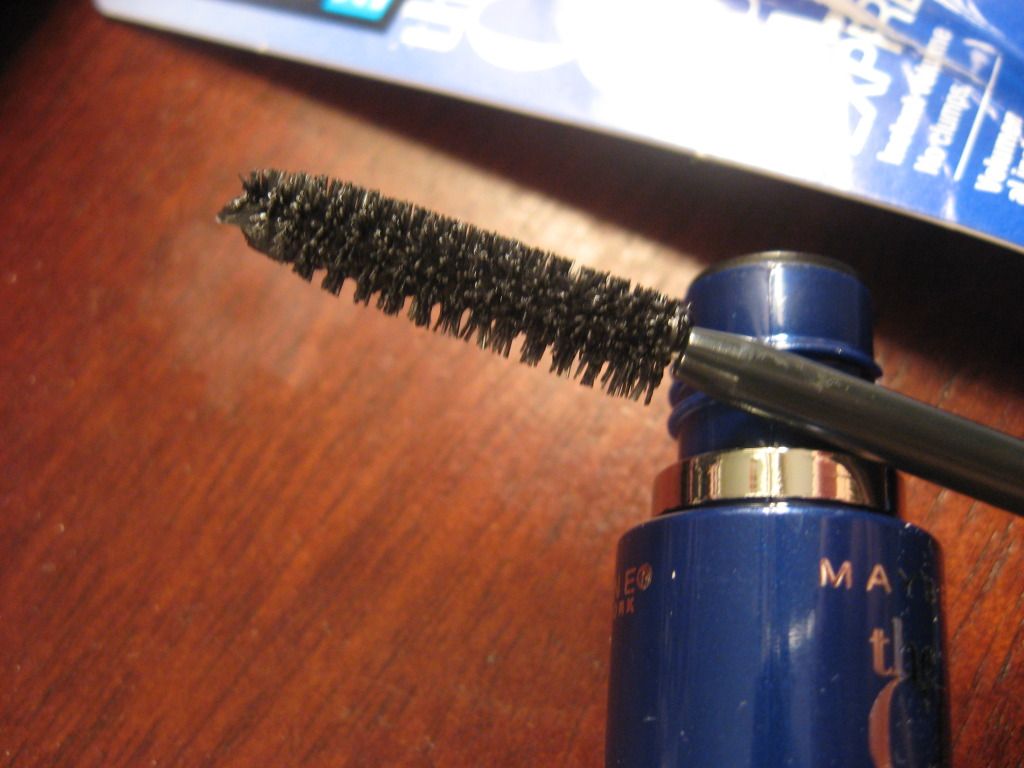
This is how the packaging looks:
LEA Lumiere LEA Lumiere
LEA LumiereLEA Lumiere
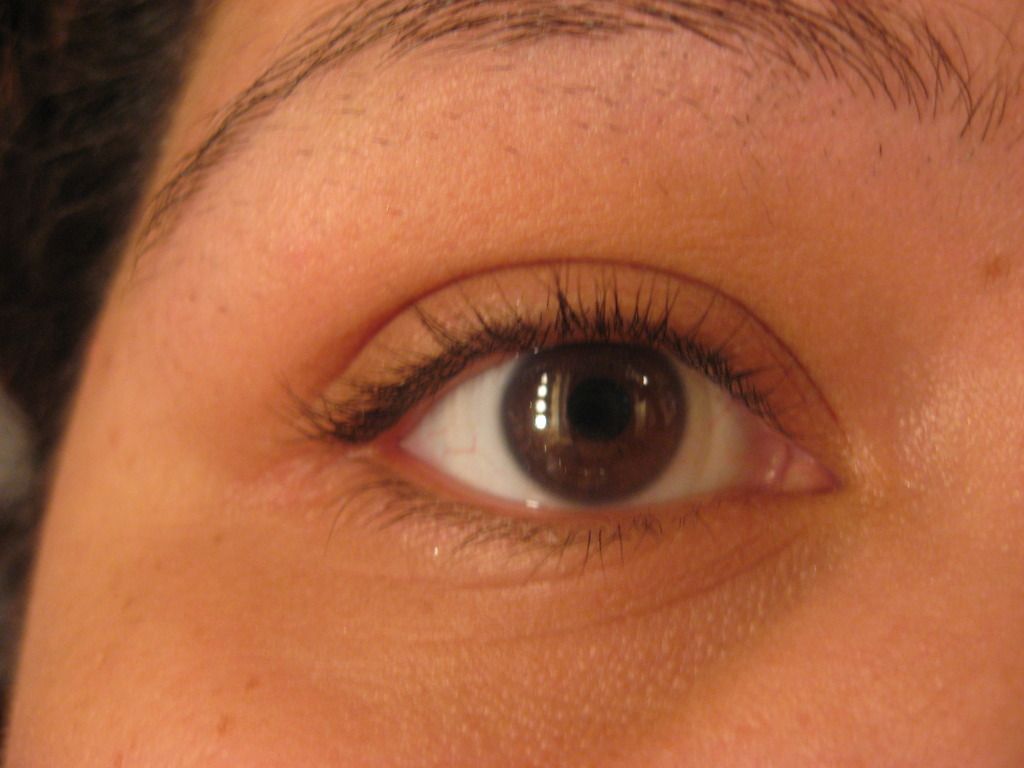
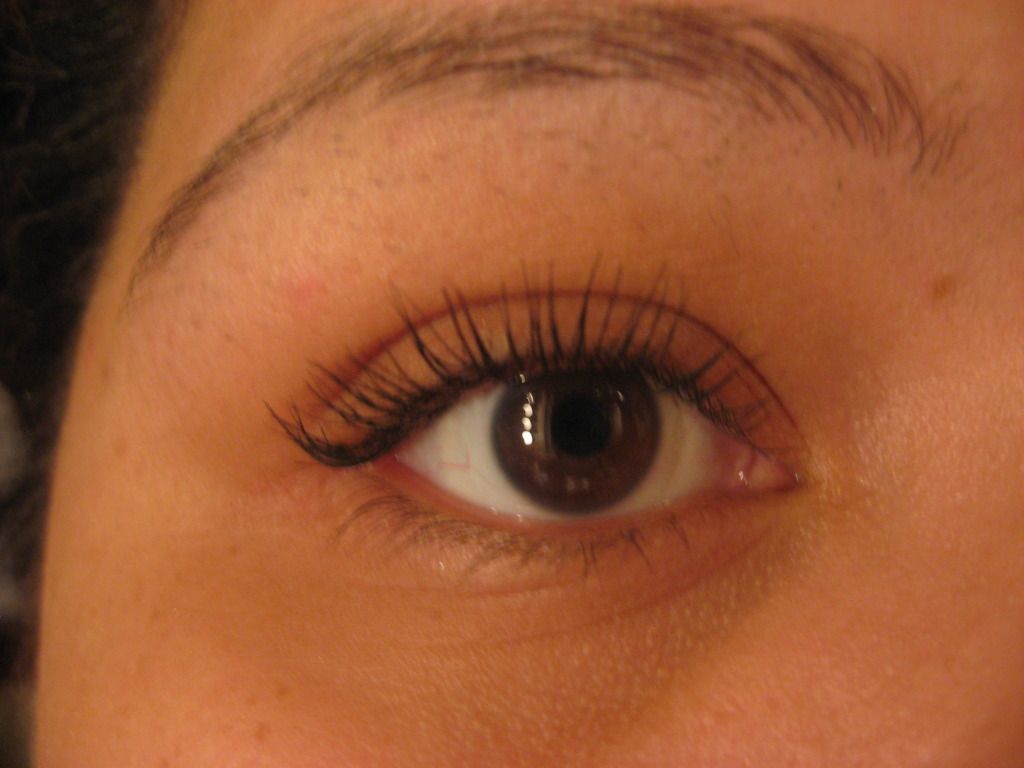
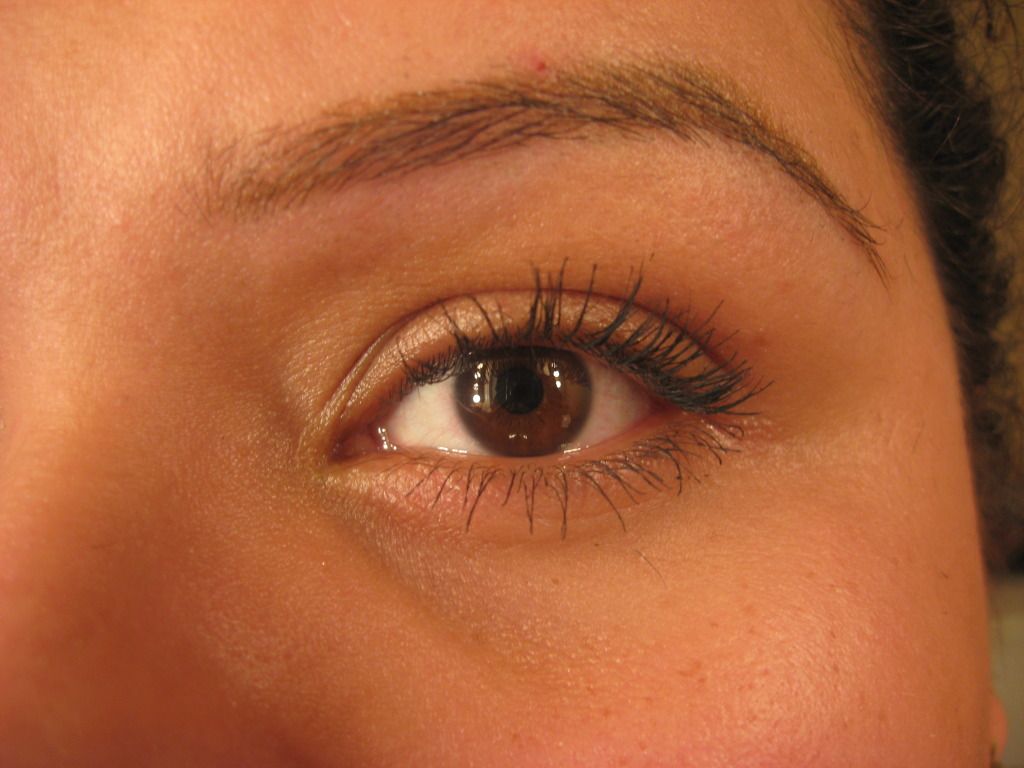
My clean uncurled lashes - excuse the eyebrows its not quite time for threading just yet.
LEA Lumiere LEA Lumiere

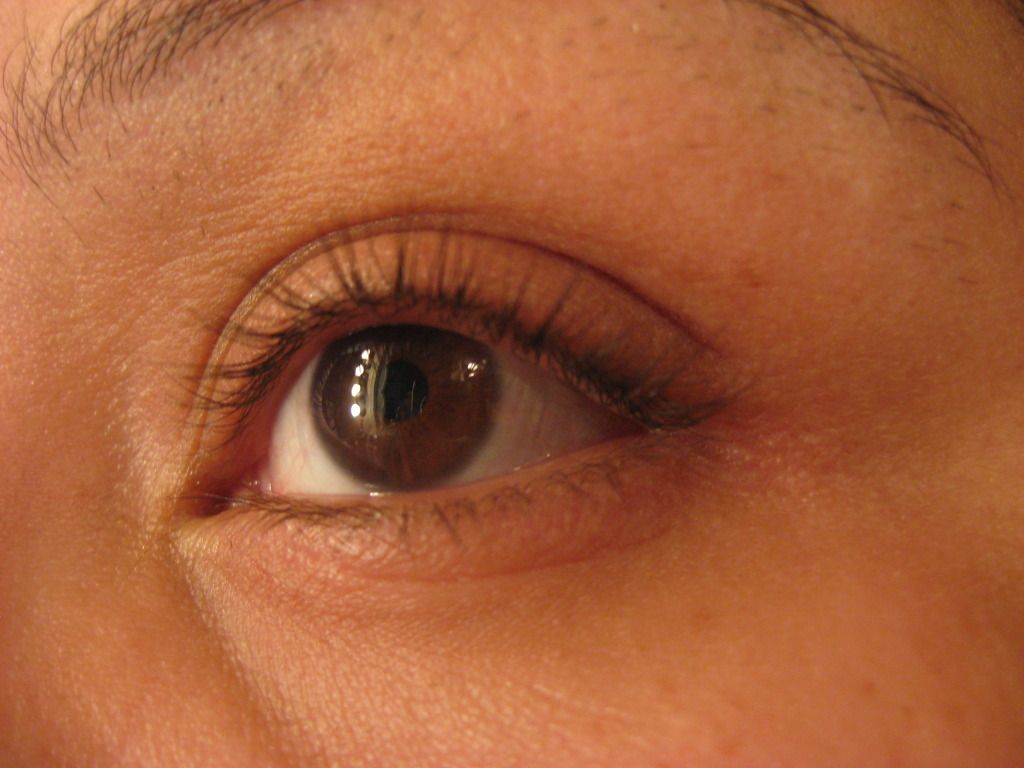
Clean and curled lashes
LEA Lumiere LEA Lumiere

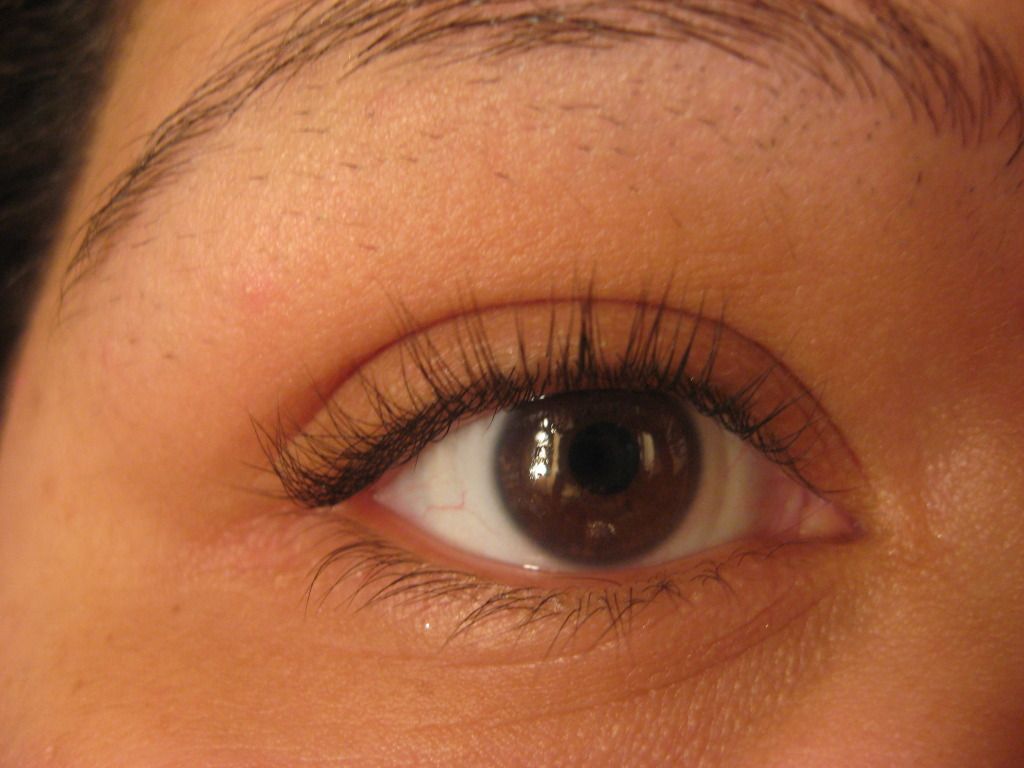
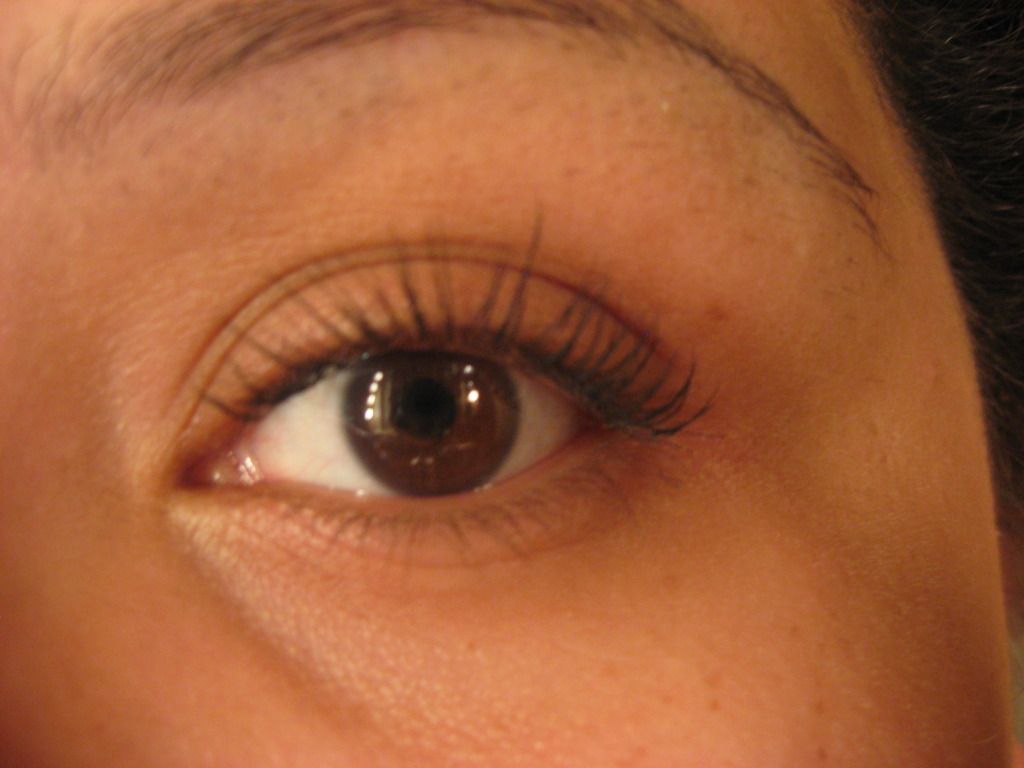
Here is one coat of mascara:
LEA Lumiere LEA Lumiere

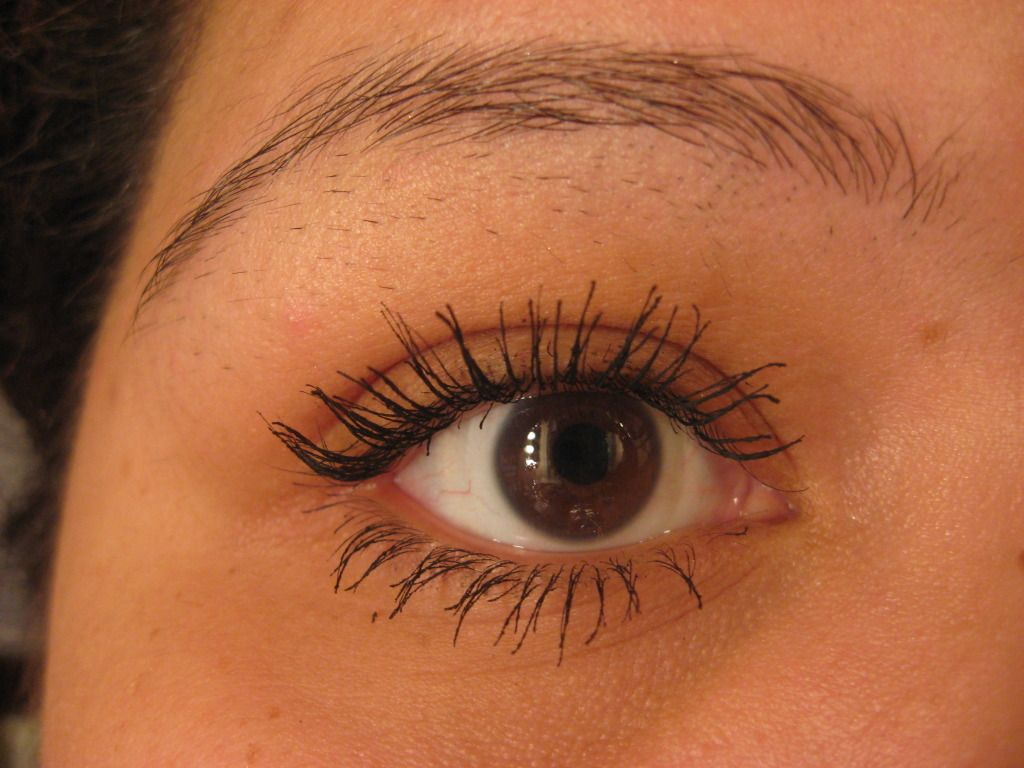
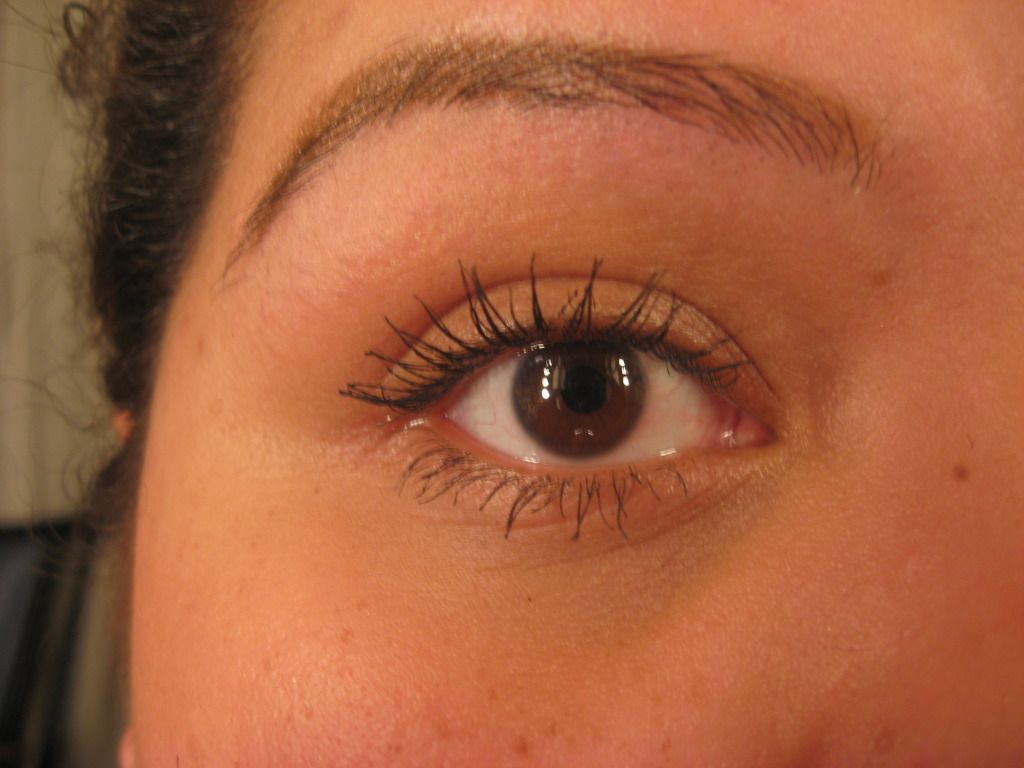
Two coats on top lashes and one coat on bottom lashes.
LEA Lumiere LEA Lumiere

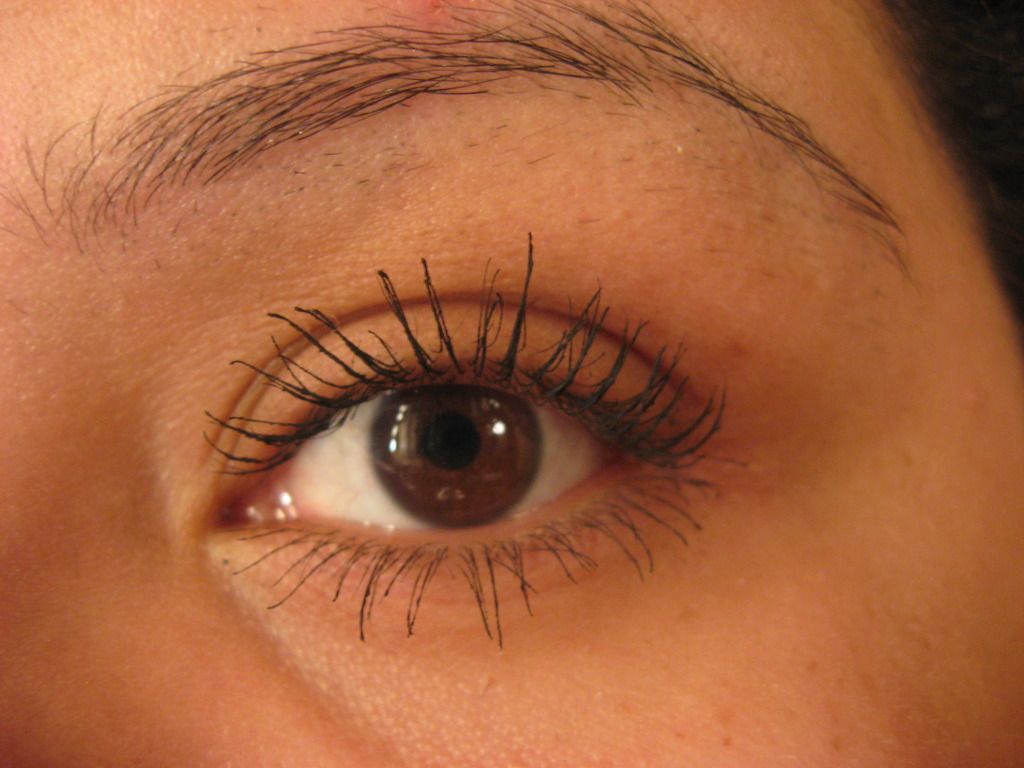
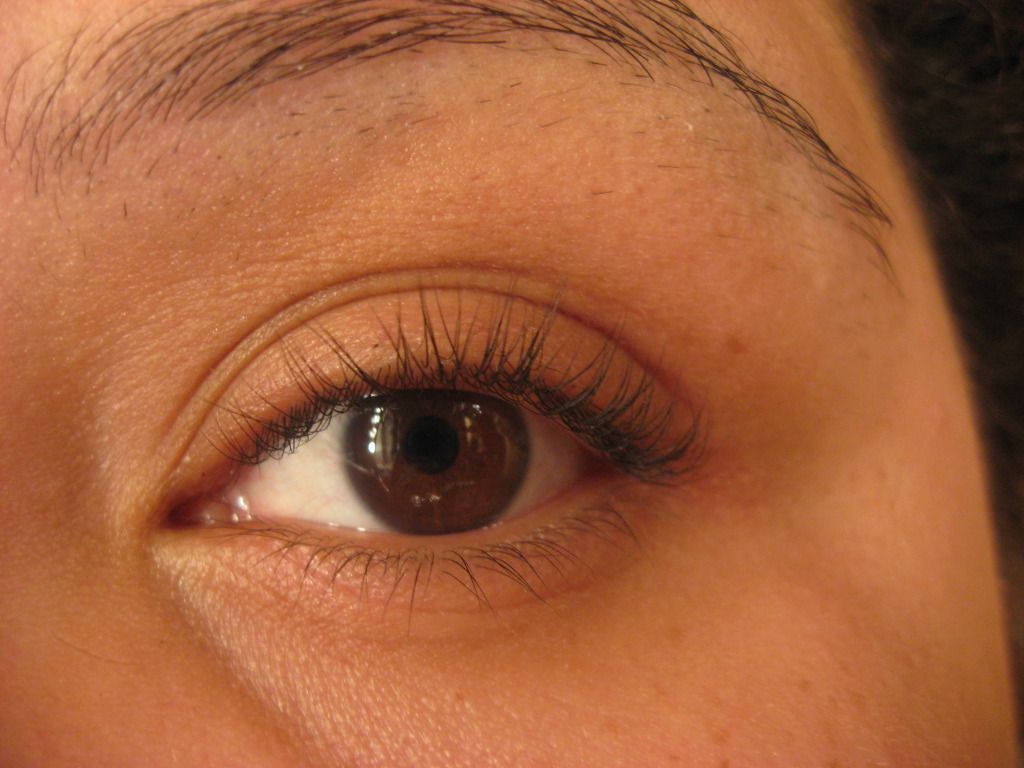
The following was on day two of testing, after 10 hours of use and after crying.
[I saw The Great Glory- an absolutely amazing movie based on a true story. Google the trailer then go watch the movie.]
LEA Lumiere LEA Lumiere

I've tried so many high and low price mascaras and hadn't found one to beat my beloved Mexican mascara. That is until this mascara. I can assure you I will no longer use any other mascara! I love this mascara!!! LOVE IT! <3  This mascara passed my ultimate test of curl endurance, no smudge/transfer and lives upto their 3xs volume.

Have you used this mascara? Do you like it? What are your thoughts about it?

Until the next post,
LEA Lumiere

Saturday, June 9, 2012

Hemming A Panel Without Sewing

Here is a quick tutorial on how to hem a panel without a sewing machine.
Hope you find it useful.

To start off I measured an inch for the hem. Ok, maybe I didn't measure it with a measuring tape. I cheated I tell you I cheated!
LEA Lumiere

I'm being honest. This picture tells the truth and nothing but the truth. I basically used one of those iron on hem strips and used it as a measuring guide then secured it with pins all the way across.
[As pictured above and below.]
LEA Lumiere

LEA Lumiere

Next, get the iron warmed up and start ironing between the pins and across the hem area. LEA Lumiere

You'll notice the iron on strip hanging out - go ahead and cut the strip right at the edge of the panel and iron over the edge.
LEA Lumiere

Now you can remove the pins and give the hem a good ironing. You are all done! Here is a finished look of the hem without the need to sew.
LEA Lumiere 


Hope you find this post useful.
Until the next post,
LEA Lumiere

Thursday, June 7, 2012

Faux Capiz Pendant

Shut the front door! I forgot to share this DIY project! After all that hard work the least I can do is share the fruits of my labor, right?

These are the supplies you will need.
Parchment paper, wax paper, iron, ironing board, squeeze punch, many glue sticks, glue gun, wire, sewing machine and a lamp shade [some items not pictured].
LEA Lumiere

To start off cut two sheets of parchment paper and three sheets of wax paper. The length doesn't matter but try to cut them all the same length. Now layer the sheets as follows: one parchment paper sheet, three wax paper sheets and top with the second parchment paper sheet on top.

Now you want to iron those sheets just as they were laid out. Repeat this process for the entire roll of wax paper. Yes, I said the entire roll of wax paper. I think I used a total of three wax paper rolls for this project because I wanted my pendant to be nice and full.
LEA Lumiere

By the way if this should happen don't worry just cut the end right off and continue working.
LEA Lumiere

Now the real work begins. Start off by "sizing" the width of the squeeze punch circle then fold the entire sheet back and forth. You'll end up with one of those paper hand held fans -trust me its better than punching one circle at a time.
LEA Lumiere

Just take a look how cutting one circle at a time looks. Yeah, not the most time effective steps to take.
LEA Lumiere

Ok, lets get back to work.

After you have 14,000 circles hot glue them all together. Just kidding! But seriously after you gather about 30 circles lay a few of them out to get an idea of the length of each strip so you have a visual [as pictured]. I decided to have three rows and not four as pictured. After you determine the number of circles in each strip get your sewing machine out and sew those circles together. 
LEA Lumiere

Here I'd insert a picture of a few sewed strips of circles, how I added one row of wiring around the lamp shade skeleton and how to start assembling the pendant. But I forgot to snap pictures. Shame on me.

However, here is a yucky quality picture of the first few strips I sewed together and hot glued just to test out the length.
LEA Lumiere

Here is another picture of it while in progress. As you can see I glued the strips slightly over one another. I did this because I wanted a nice full looking pendant. Did you notice the lamp shade is upside down? Whoever thought of this idea is brilliant!
LEA Lumiere

And here my friends is the final product from different view points. LEA Lumiere

LEA Lumiere 
LEA Lumiere LEA Lumiere

This faux capriz pendant is hanging very nicely in my bedroom and has received many "oohh", "aahhh" and "WOW" since its display. I'll also have you know I've been requested to make four of these!

After getting a glimpse of how one of these is made how much would you sell one of these for?  What are your thoughts about this project? Do you like it?

Leave me a comment and please subscribe --you'll totally make my day and inspire me to share more projects.

Until the next post,
LEA Lumiere