Monday, September 19, 2011

Nightstand Before and After

Hello everyone! How was your weekend? My weekend seemed long but really who am I kidding its only two days. At any rate I managed to complete a dresser, I think thats what it is. Due to weather conditions in the days past I wasn't able to finish it sooner. But as soon as the elements cleared out I went back to work! I'll be sharing pictures with you soon for that project.


I also completed my very own cereal box sunburst mirror, yay! It turned out better than I anticipated considering it is literally made from a cereal box. I'll post pictures and a step by step on how you can make one too. 


But now let me introduce you to this little guy whom I found and just couldn't walk away from.


LEA Lumiere


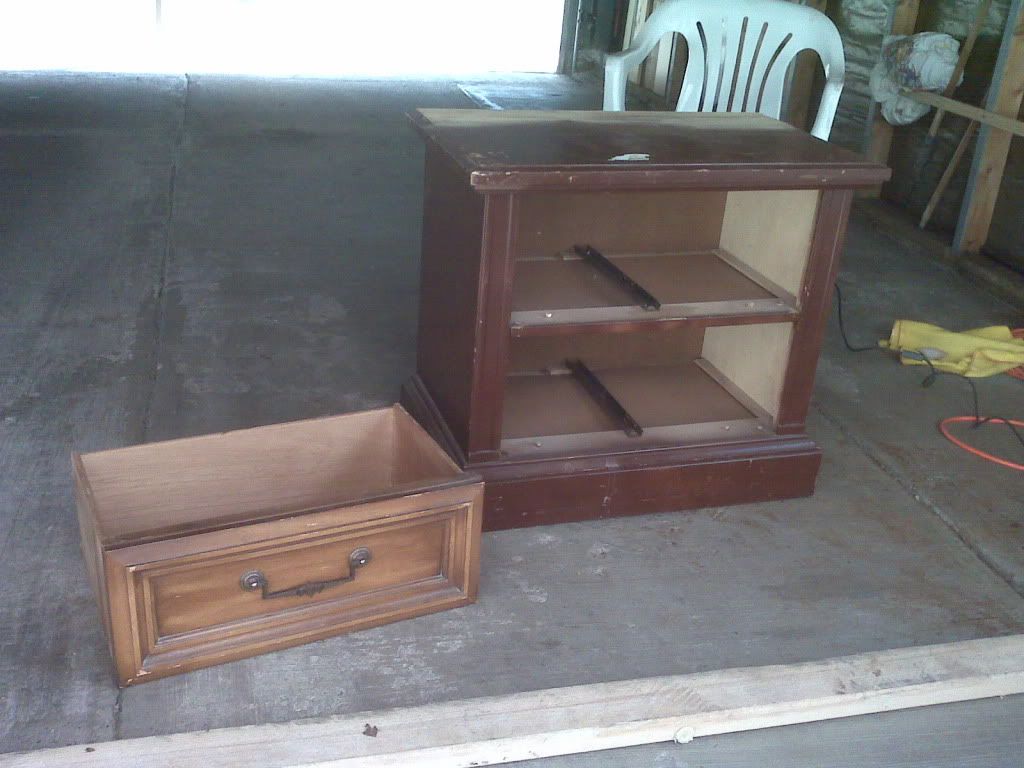
I saw him and thought "Eh, I really don't need it." I then walked away and some how managed to find myself eyeballing it yet again! Only this time some guy saw me checking it out and as he quickly approached my animal instinct snapped "Hurry grab the tag and run!"  and so I did! And let me tell you I am so glad I did.
(On a side note this little guy is super heavy.)


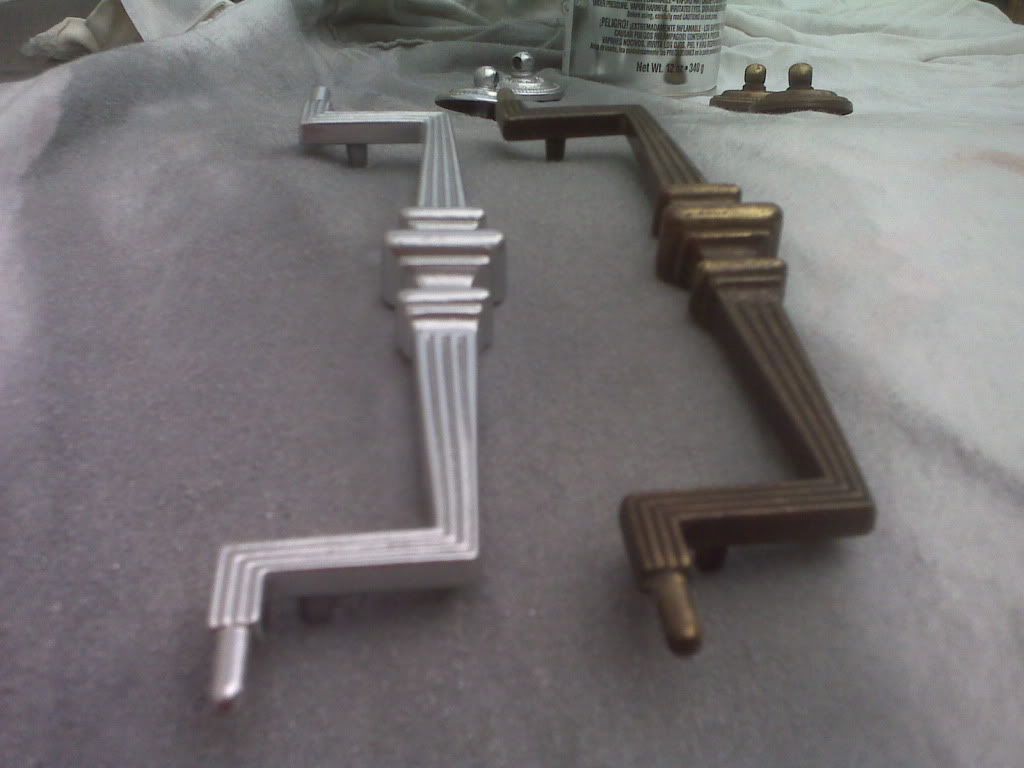
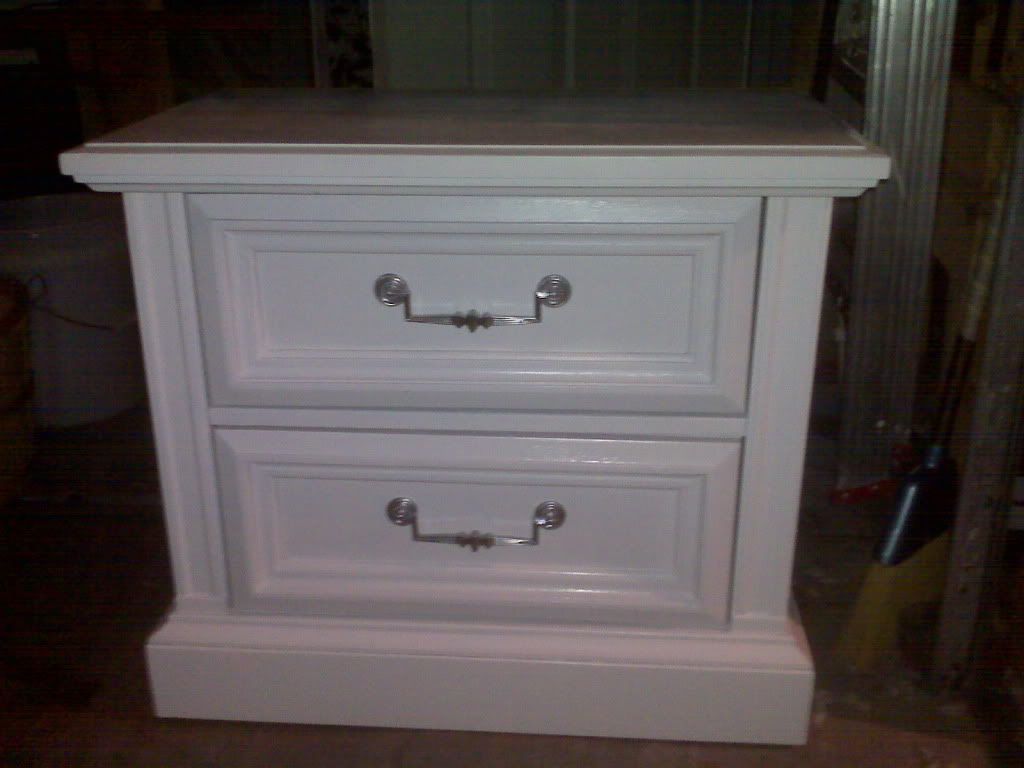
Check out the hardware! This was a major factor in me getting this little guy. Nothing a couple coats of spray paint can't glorify.
LEA Lumiere

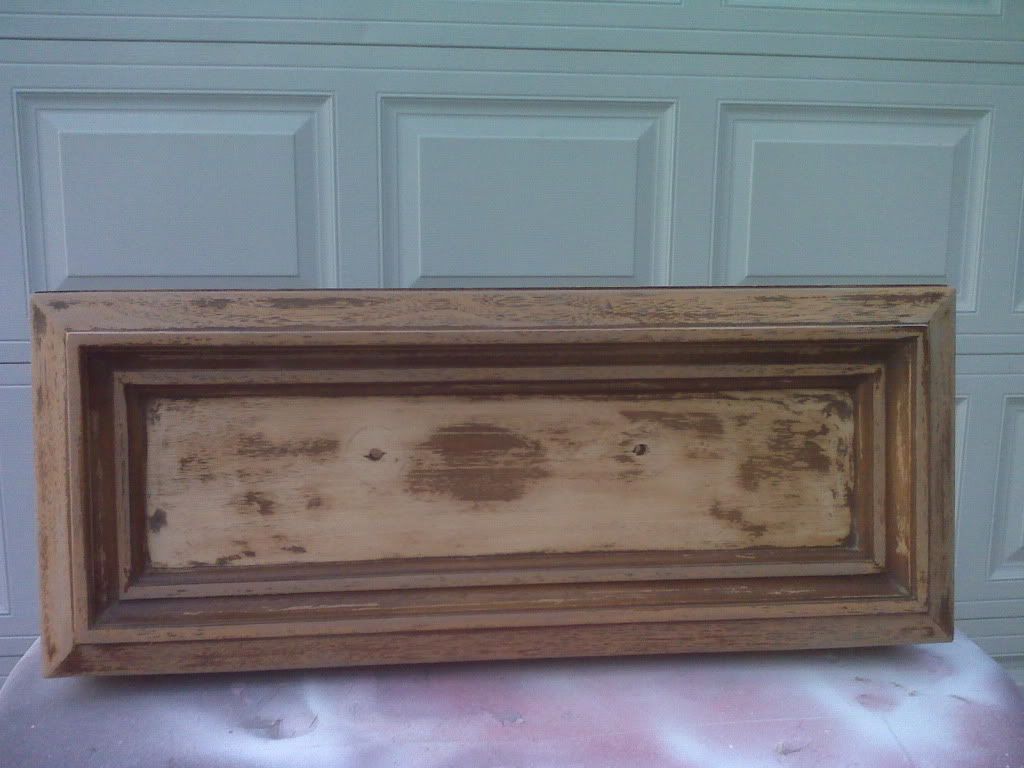
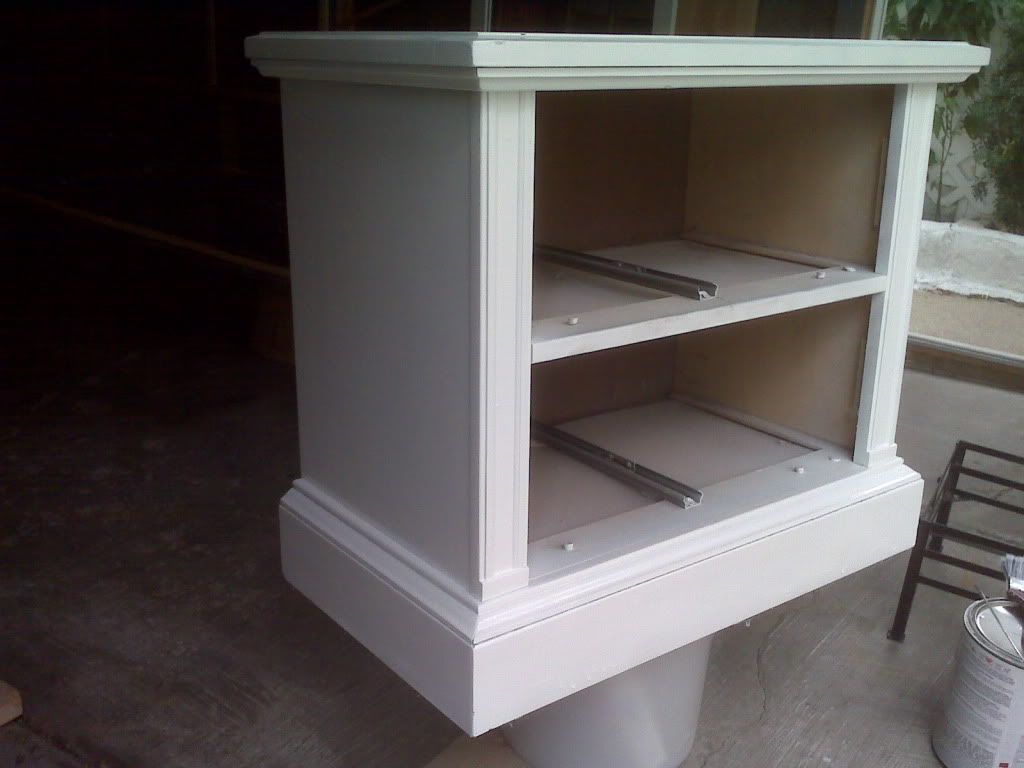
Next I started sanding my life away. As you can see I still had a little more sanding to go.

 LEA Lumiere


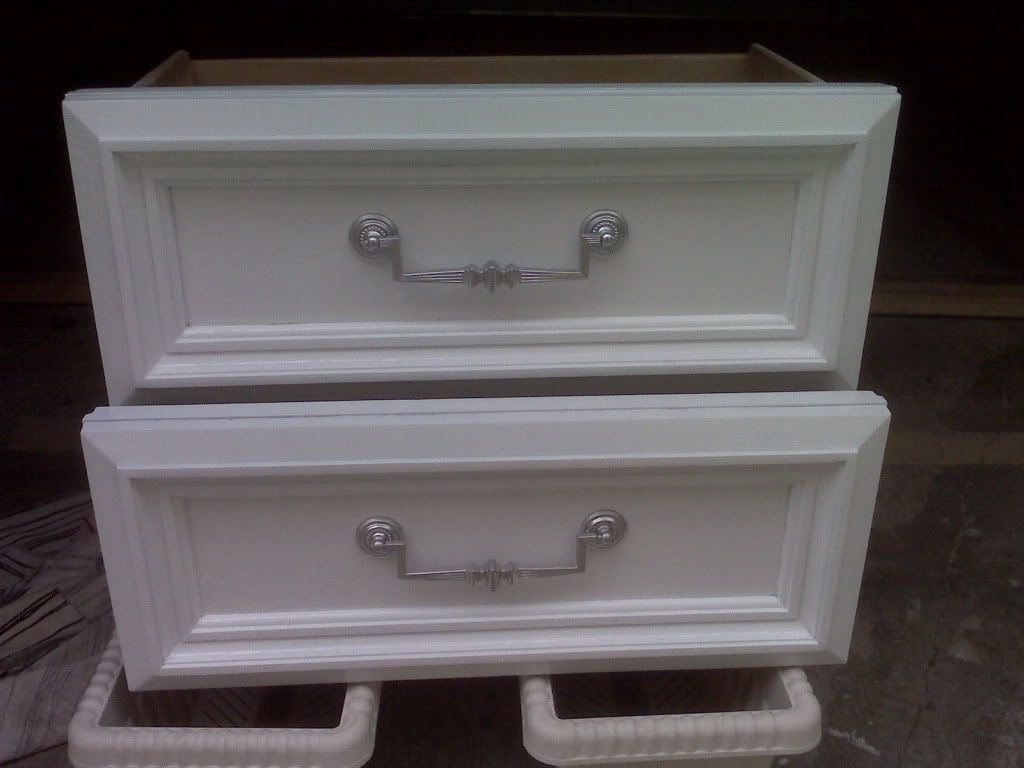
I forgot to snap pictures of the "in progress" night stand. But really I'm sure you want to see the finished product, right? Well here it is...


First are the drawers with fixtures in place
LEA Lumiere


Then the stand --goodness this thing was heavy!
LEA Lumiere


And here they become one
LEA Lumiere
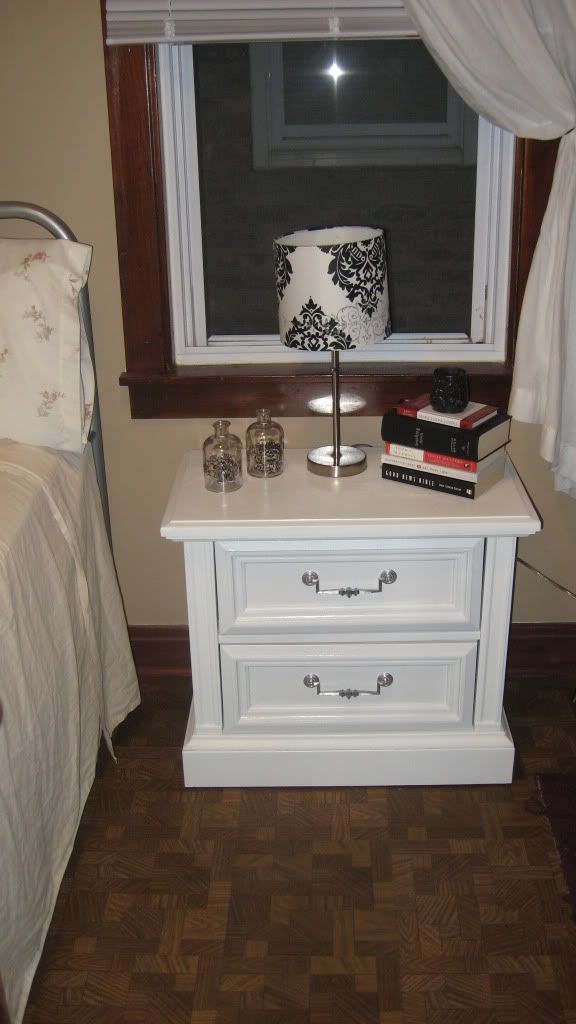
And here it is in my bedroom. Just threw any ol' thing on top to take the picture. And please don't mind that nasty floor, ugh, there is only so much I can do to a rental apartment {sigh}. Can you see the flash on the window? Yeah, thats the building next door! Super close huh? I always keep my blinds down just incase {considering some roman blinds-haven't made up my mind.}

I didn't feel like editing this picture to remove "that floor" LOL lazy just lazy I know. I think I'm going to get some kind of rug/mat to cover the area up a little.


LEA Lumiere

I am really happy with the results and have already put this little guy to good use. What do you think?


Until the next post ...
LEA Lumiere

Tuesday, September 6, 2011

Cooking Puerto Rican Rice


Happy Tuesday! What a chilly Tuesday we Chicagoan woke up too! But as with everyday we are ready to tuff out the ever changing climate.

But enough of that I'm sure you didn't choose this post to read about the weather, right? This past Sunday my sister Pattie and hubby Danny hosted a Labor Day BBQ and at the same time opened their home to the family for the first time. They got married in April and have been working hard on making their house a home and let me just say they were successful! I can't say I have a favorite room because each room is beautiful, that double lot yard and Florida room oh my gosh! This just made me want my own home.

Ah, let me try this again. My share of eats was Puerto Rican rice. Let us now get cookin' -- but first let me say I have tried making this rice before and it was either under cooked or over cooked but this time I think it was pretty good. This receipe makes a large party size tray of rice. Oh, since I don't have a huge caldera I'm forced to use two calderas (pots).


You'll need:

16 cups of water (8 cups of water per pot)
4 tablespoons of olive oil (2 tablespoons per pot)
8 cups of long grain rice (4 cups per pot)
2 cans of green pigeon peas (1 can per pot)
1 packet of Sazon Goya con culantro y achiote (orange packet) (one packet per pot)
1 packet of Sazon Goya seasoning (white packet) (one packet per pot)
2 cups Sofrito (one for each pot)
Hunts tomato sauce (small can)
Salt (optional)

Here we go --
Start the fire on high heat and put 8 cups of water in each pot
Add 2 tablespoons of Olive Oil to each pot
Bring to a boil
Photobucket


In a large bowl place your 8 cups of rice and rinse, twice.  I've already done this to the rice pictured below.
Photobucket


While the water comes to a boil lets start on main flavoring for our rice.
In a small skillet add 2 tablespoons olive oil, pour 2 cups of Sofrito, 1/2 can of tomato sauce and 1 envelope of each Sazon Goya. Stir all ingredients together and allow a quick simmer.

 
Check your pots for boiling water. If they are boiling add 4 cups of rice to each pot. I just pour half the bowl of rice into each pot.
Photobucket

Now add the pigeon peas into the mix- one can per pot. Feel free to add more if you like.
Photobucket


(Here is the sofrito flavoring we made earlier.)
Add a cup of sofrito to each pot.
Photobucket

Stir all the ingredients together.
Photobucket

It should look a little something like this...
Photobucket

Quick tip-- place a spoon in the center of the pot if it stands up straight its perfect! Now place the lids and maintain the heat on high until the water had evaporated.
Photobucket


Once the water is evaporated lower the flame from high to low. Then give the pot a good stir. This should be done from the outer edges of the pot towards the center. Now just place the lids back and leave the rice alone, no more stirring.
Photobucket
Check on it in about 15 minutes or so -- once the rice has fluffed the way you like its done.


This is how I like my rice to look -- this means my rice is done!
Photobucket

And here it is all done and ready to go-- Buen Provecho!
Photobucket

Until the next post
Photobucket


Monday, September 5, 2011

What's On The "Menu"?

Hola! Hope everyone enjoyed their Labor Day weekend-- I sure did because I'm on vacation (from work not because I actually am some place other than home.)  Keep an eye on my blog I have great stuff that will be posted (hopefully once a day) -woohoo! 


What's on the posting "menu" you ask? Well how about ...

- How to make Puerto Rican rice (posted)
- How to make a sunburst mirror out of a cereal box (to be posted)
- Making a dated foot rest ... cute (posted)
- Before and After of a nightstand (posted)
- How to "clean" up those ugly leaks when ya' go spray paint happy (to be posted)
- TrueBlood "Bill Compton" inspired living room/office curtains (to be posted)


Feuf! That's quite a bit of stuff I'm going to be sharing so please do come around more often. 


Until the next post
Photobucket