
Saturday, December 24, 2011
Merry Christmas
From my home to yours I wish you and family a Merry Christmas. Let us not forget but remember why we celebrate Christmas, the birth of our Lord and Savior Jesus Christ. Happy Birthday Jesus!
Friday, December 23, 2011
Christmas Tree 2011
Hello all. I was debating on posting a picture of my Christmas tree simply because its not as "jazzy" as many that I have seen in blogosphere. But in the end I said
"What the heck". With that said I give you ...
"What the heck". With that said I give you ...
My 2011 Christmas Tree
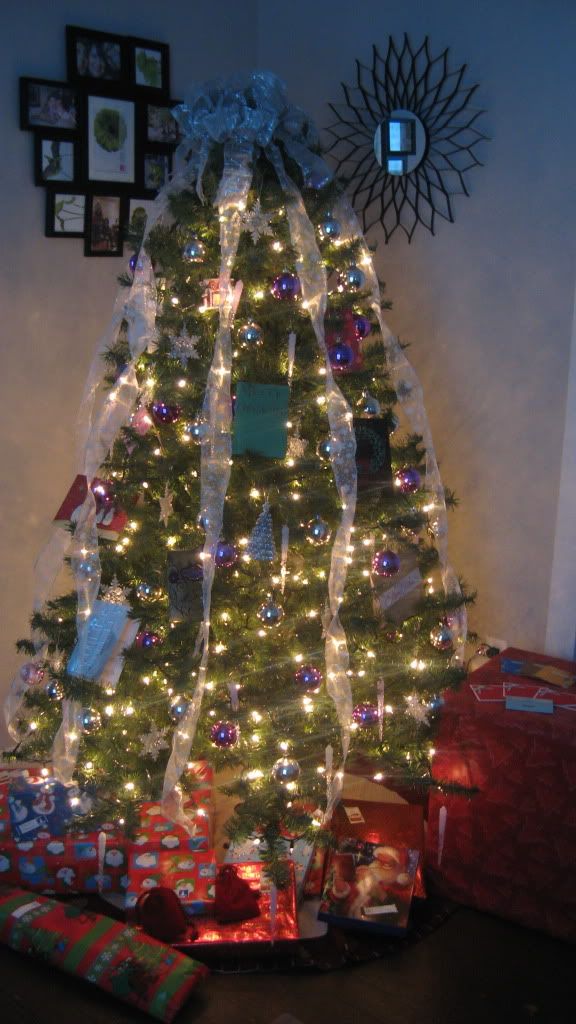
{Not quite done wrapping gifts--its so labor intensive.}
Until the next post,

Christmas Wreath
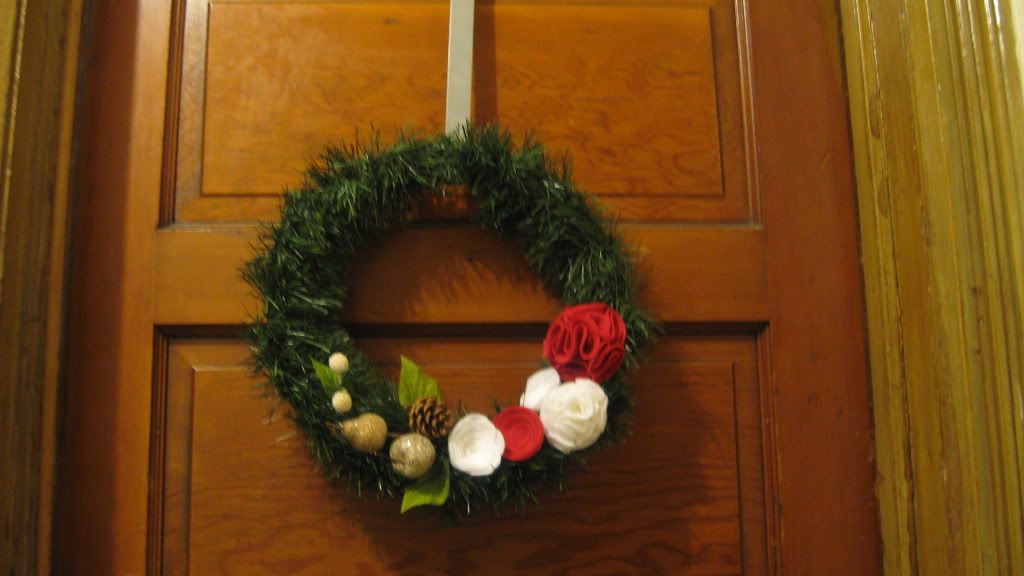
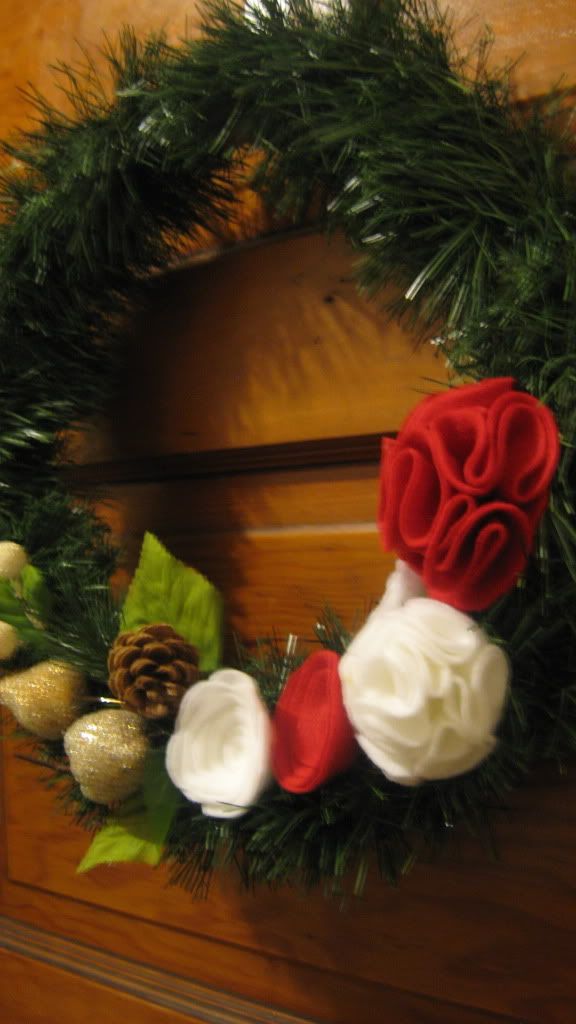
Hello everyone. Pardon my lack of appearance on my blog there has been quite a bit going on. Nonetheless I managed to squeeze in sometime to make my very first Christmas wreath.
This is what you will need:
1 sheet of felt in red and white (craft store for .29 each)
1 plain wreath (dollar store find)
1 rope of garland (dollar store find)
1 pack of bunched decoration (dollar store find 2/pack)
Glue sticks & hot glue gun (on hand)
Scissors (on hand)
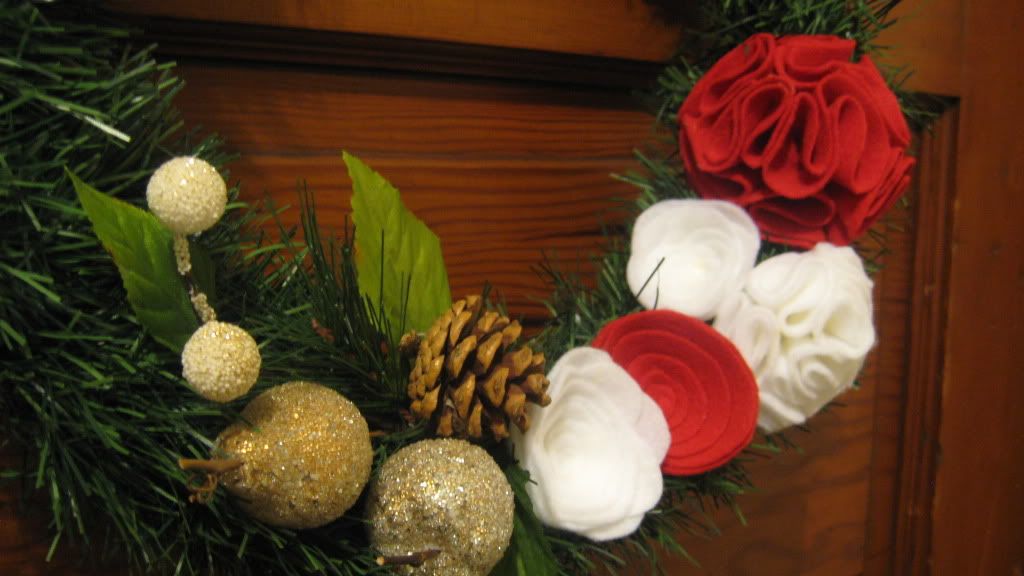
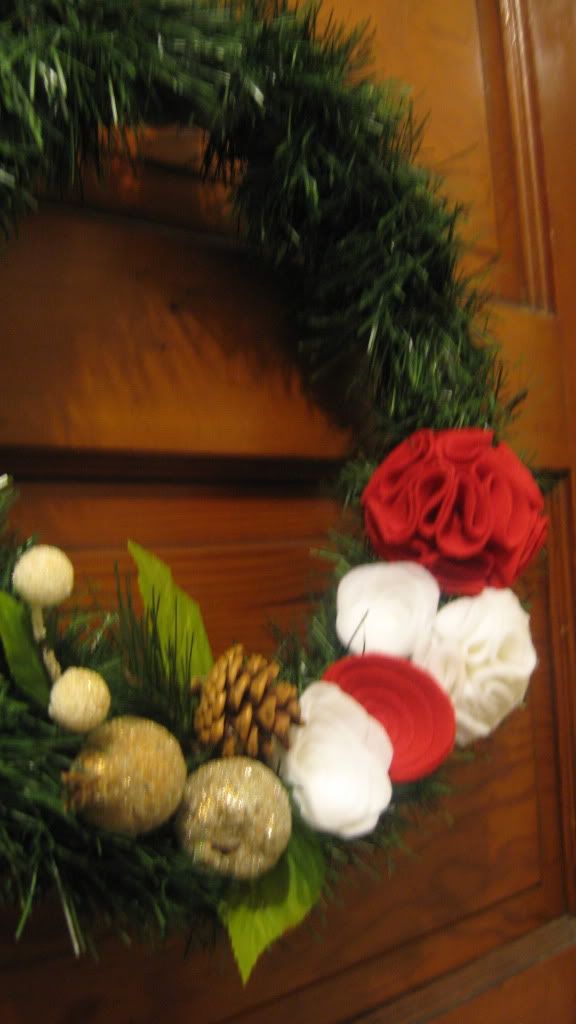
I made some white and red felt flowers. Here are the white flowers...

I wrapped the garland around the plain wreath making sure none of it was exposed. Before I glued anything onto the garland I placed the flowers and decorations in various angles to make sure I'd like the arrangment.
This is what I came up with...
Until the next post,
It is nice and simple. By no means the fanciest of wreaths but it did the trick.
Monday, December 19, 2011
Thanks for your comments!
Hello everyone! Hope your preparation for the Holiday season is done and ready to roll. I, for one, am not done. Truth be told I only have four gifts and need several more. Yikes!
At any rate I want to thank those that have taken the time to check out my post and actually post a comment! You really make my day. I'd love to reply to your comments but for the life of me I can't figure out how. This is total madness I tell you -MADNESS! hahaha
Can anyone enlighten me, PLEASE?
Saturday, December 3, 2011
TrueBlood Inspired Panels
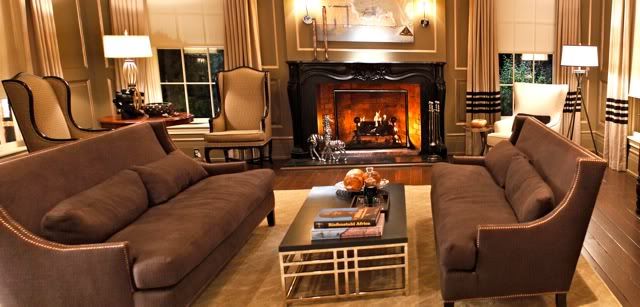
Am I the only one who is hooked on TrueBlood? I can't wait for the next season to start! For those of you who have watched TrueBlood are you loving Bill's newly decorated home? I sure wouldn't mind living in that house... with him! hahaha
This is Bill's formal room.
This is his office.

This is my kind of formal room and office. Its neutral, sophisticated and plain ol' crisp in my opinion. Add the right color accents and this place would be even more amazing.
As I was watching season 3 of TrueBlood I spotted the panels in both the formal room, as pictured, and in Bill's office. Then I looked at the plain panels I had up and thought "Oh yeah this is definitely going to happen." I had the intension of adding the strips but had no idea where exactly to place them or how.
Fast forward to a day of shopping and going in the ribbon aisle. It was then that a big lightbulb turned on and like a vision I saw black ribbon. Perfect! Ribbon is exactly what I'd sew onto my panels to create my TrueBlood inspired panels.
Here are my TrueBlood inspired panels in my living room.
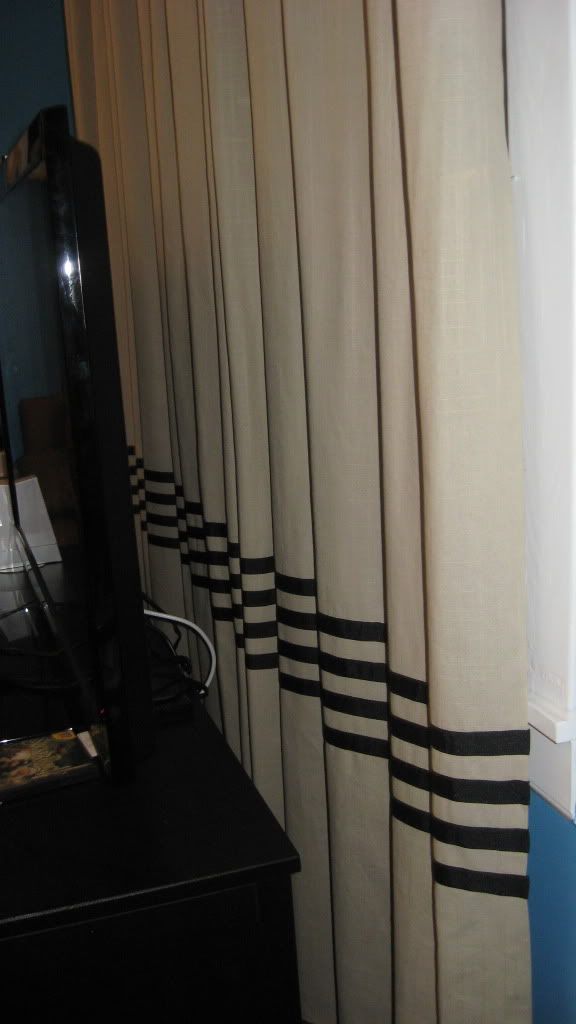
(This project was completed before painting my living room. The horror of that blue! It still haunts me.)
Until the next post,
Friday, December 2, 2011
Statesville Chair Makeover
Oh sweet Statesville Chairs how I love thee! I got a pair of these beauties from my bosses best friend, Evelyn, who was downsizing on many furniture pieces. Major score. I must admit that my visit was only intended for a kitchen table and chairs but I ended up walking out with much more. I got two chairs or "butacas" as she referred to them, place mats, wine glasses, small glass plates, coffee cups, breakable deco, and cute art pieces.
{Before you continue know this is the longest blog in blogosphere.}
Here are the before pictures. The chairs were actually quite beautiful as they are pictured. But they didn't mesh well with my stuff. And so the makeover, transformation, refurbish whatever you wanna' call it begins.
Before:


{sorry about the crappy poor quality pictures these were taken with my crapberry blackberry.}
During:


Let me summarize what has been done:
- Removed upholstery and piping (?) and used as template for new look
- Sanded chair
- Spray painted chair
- Cut templates for new upholstery using none other than a shower curtain!
{Oh yes I did! }
{Oh yes I did! }
Sounds easy right? Well honey it was labor intensive and time consuming. Did I mention this was my first reupholstering attempt? Because it was ...
Onto the upholstery part this took me a while because I kept putting it off.
"Oh the hard work this entailed."
This is the shower curtain I found. It is the perfect shade of blue and just enough texture to make me happy.


Since the curtain has stitching I had to ensure the back and front pieces were centered.
Can you see the "X"?

Once that part was perfectly stapled I added a piece of cardboard to make the back a little sturdy. {Be careful how you hold your stapler. I wasn't and the staples pierced the back and consequently made little holes that were {still are} visible. aarrrggg! I had to remove the entire thing and start over. I was beyond livid at myself so I decided to take a break! BIG time. And that's exactly what I did -- chilled for a while.}

I must add that my darling Oso was with me all day long what a trooper! How can I not love this little guy?! It is simple not possible.

I didn't want him napping on the ground so I took my new panel and let him sleep on it. I can always wash it again. Then I left to sit in the front porch and look who tagged along...
"Oso, didn't I just leave you sleeping in the yard?"
"Oso, didn't I just leave you sleeping in the yard?"
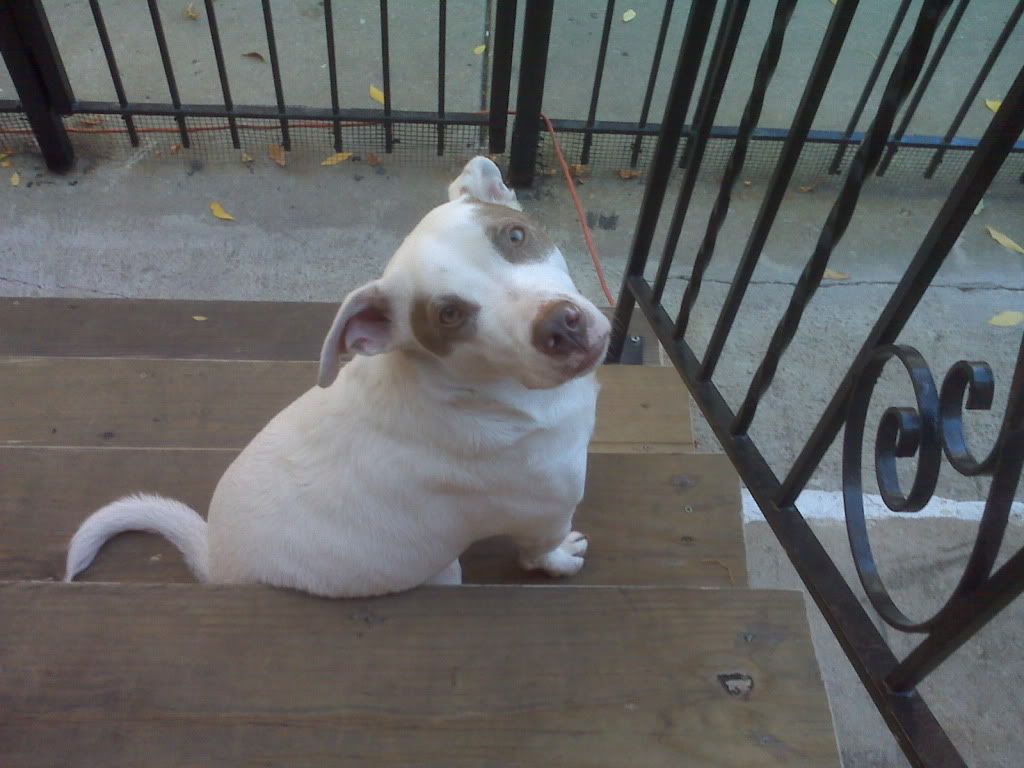
Mr. Oso didn't want to lose sight of me. What a cutie!
Alright onto the project before this post gets longer than it already is...
I started the 're-stapling' process again with caution this time.

This is how the backrest looks. {Darn I cut off the top of the chair.}

Next I hot glued the piping which finalized this part of the chair transformation.
{As you can see I had already started working on the seat.}

And the after -- by far my favorite part of this project!

Did you see the pillow case? I made it from a window panel. I'm still not done with it though I am going to add rosettes. And did you notice I finally painted my living room walls from blue to this awesome light color?! No more sky blue living room any more! I still don't know why in God's green earth my landlord painted it that color. I tell you what when I told him to check out my re-done living room he flipped out! He loved it.
Now I have to convince him to do something about that floor. Its horrible and I hate it.
Moving right along...
Now I have to convince him to do something about that floor. Its horrible and I hate it.
Moving right along...

I think the piping could have been a little better. However, considering this was my first attempt I think I did pretty good. Now I just have to complete the second chair. {sigh}
{This post is dedicated to Evelyn who was called home. I will be taking good care of your butacas.}
Until the next post,
Subscribe to:
Posts (Atom)